Training Job Execution Reference Guide
Note: Currently, training scripts run under the assumption that the user is logged in as tmpUser. If using a different user, modify the relevant paths in the script; for example, change /tmpUser/xxx to the corresponding user path /$user/xxx
Single-Machine Job Creation
TensorFlow Single-Machine Job
- Click the “Create” button to start creating the TensorFlow single-machine job.
- Fill in the job information. Image: Select the TensorFlow image
Dataset: /MNIST_data
Startup file: TensorFlow single-machine training script, /tmpUser/models/tensorflow/mnist/tf_mnist_single.py

Or use command mode:
python /tmpUser/models/tensorflow/mnist/tf_mnist_single.py
Select other parameters as needed.

Caffe Single-Machine Job
- Click the "Create" button to start creating a Caffe single-machine job.
- Fill in job information
Image: Select the Caffe image
Dataset: /MNIST_caffe
Startup file: Caffe single-machine training script: /tmpUser/models/caffe/mnist/solver_lenet.prototxt
Or use command mode:
caffe train --solver=/tmpUser/models/caffe/mnist/solver_lenet.prototxt --gpu=all
Set other parameters as needed.
Mxnet Single-Machine Job
- Click the "Create" button to start creating an Mxnet single-machine job.
- Fill in job information
Image: Select the Mxnet image
Dataset: /MNIST_data
Startup file: Mxnet single-machine training script, /tmpUser/models/mxnet/mx_mnist_single.py
Or use command mode:
python /tmpUser/models/mxnet/mx_mnist_single.py
Select other parameters as needed.
Pytorch Single-Machine Job
- Click the "Create" button to start creating a Pytorch single-machine job.
- Fill in job information
Image: Select the Pytorch image
Dataset: /MNIST_pytorch
Startup file: Pytorch single-machine training script, /tmpUser/models/pytorch/mnist/pytorch_mnist_single.py
Or use command mode:
python /tmpUser/models/pytorch/mnist/pytorch_mnist_single.py
Select other parameters as needed.
PaddlePaddle Single-Machine Job
- Click the "Create" button to start creating a PaddlePaddle single-machine job.
- Fill in job information
Image: Select the PaddlePaddle image
Dataset: /MNIST_data
Startup file: PaddlePaddle single-machine training script, /tmpUser/models/paddle/paddle_mnist_single.py
Or use command mode:
Select other parameters as needed.
Distributed Job Creation
TensorFlow Distributed Job
- Click the "Create" button to start creating a TensorFlow distributed job.
- Fill in job information
Image: Select the TensorFlow image
Dataset: /MNIST_data
Startup file: TensorFlow distributed training script, /tmpUser/models/tensorflow/mnist/tf_mnist_dist.py
Or Benchmark distributed test script: /tmpUser/models/tensorflow/benchmarks-cnn_tf_v1.15_compatible/scripts/tf_cnn_benchmarks/benchmark_cnn_distributed_test_runner.py
Deployment type: PS/Worker; Number of PS: 1; Number of Workers: 2
Set other parameters as needed.
Mxnet Distributed Job
- Click the "Create" button to start creating an Mxnet distributed job.
- Fill in job information
Image: Select the Mxnet image
Dataset: /MNIST_data
Startup file: Mxnet distributed training script, /tmpUser/models/mxnet/mx_mnist_dist/mx_mnist_dist.py (Note: If using GPU, modify line 84 in the script to change gpus to gpus:'0')
Deployment type: Server/Worker; Number of Servers: 1; Number of Workers: 2
Set other parameters as needed.
PyTorch distributed job
- Click the "Create" button to start creating the PyTorch distributed job.
- Fill in job information
Image: Select the Pytorch image
Dataset: /MNIST_pytorch
Startup file: PyTorch distributed training script, /tmpUser/models/pytorch/mnist/pytorch_mnist_dist.py
Deployment type: Master/Worker; Number of Masters: 1; Number of Workers: 2
Set other parameters as needed.
PaddlePaddle distributed job
- Click the "Create" button to start creating the PaddlePaddle distributed job.
- Fill in job information
Image: Select the PaddlePaddle image
Dataset: None, no additional dataset selection required
Startup command: Replace tmpUser with the corresponding user
cd /tmpUser/models/paddle/PaddleOCR-2.0.0/ && export NCCL_DEBUG=INFO && python3 -u -m paddle.distributed.launch /tmpUser/models/paddle/PaddleOCR-2.0.0/tools/train.py -c /tmpUser/models/paddle/PaddleOCR-2.0.0/configs/det/det_r50_vd_db.yml -o Global.pretrain_weights=/tmpUser/models/paddle/PaddleOCR-2.0.0/pretrain_models/ResNet50_vd_ssld_pretrained
Deployment type: collective; Number of Workers: 2
Set other parameters as needed.
MPI job creation
Caffe MPI job
- Click the "Create" button to start creating the Caffe MPI job.
- Fill in job information
Image: Select the Caffe image
Dataset: /MNIST_caffe
Deployment type: MPI; Number of Workers: 2
Startup file: Caffe MPI training script, /tmpUser/models/caffe/mnist/solver_lenet.prototxt
Or use command mode:
mpirun -allow-run-as-root -np 2 caffe train --solver=/tmpUser/models/caffe/mnist/solver_lenet.prototxt --gpu all
Select other parameters as needed.
TensorFlow MPI job
- Click the "Create" button to start creating the TensorFlow MPI job.
- Fill in job information
Image: Select the TensorFlow image
Dataset: /MNIST_data
Deployment type: MPI; Number of Workers: 2
This container image supports only command mode:
mpirun --oversubscribe --allow-run-as-root -np 2 -mca pml ob1 python /tmpUser/models/horovod/tensorflow_mnist.py --data_dir=/MNIST_data
Set other parameters as needed.
MXNet MPI job
- Click the "Create" button to start creating the MXNet MPI job.
- Fill in job information
Image: Select the Mxnet image
Dataset: /MNIST_data
This container image supports only command mode:
mpirun --oversubscribe --allow-run-as-root -np 2 -mca pml ob1 python /tmpUser/models/horovod/mxnet_mnist.py --data_dir=/MNIST_data
Deployment type: MPI; Number of Workers: 2
Set other parameters as needed.
PyTorch MPI job
- Click the "Create" button to start creating the PyTorch MPI job.
- Fill in job information
Image: Select the Pytorch image
Dataset: /MNIST_pytorch
Deployment type: MPI; Number of Workers: 2
Startup file: PyTorch MPI training script, /tmpUser/models/horovod/pytorch_mnist.py
Or use command mode:
mpirun -np 2 -allow-run-as-root python /tmpUser/models/horovod/pytorch_mnist.py
Job visualization
Training job visualization: You can view the visualization during or after the training job. The following section introduces visualization using a completed job. (Since the visualization service takes time to start, refresh the page if it fails to open.)
Caffe visualization
Network architecture visualization
- Visualize job - Create
Click the "Visualize" button to open the Netscope tab and start creating the Caffe visualization job.
2.Netscope
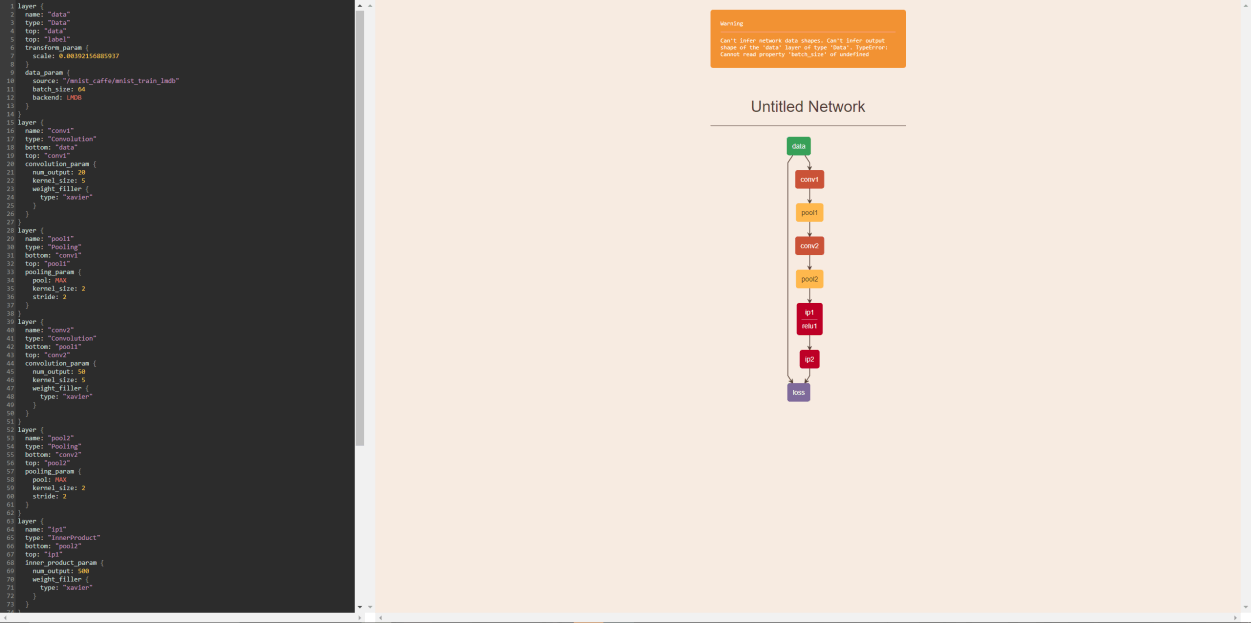
Enter the file management system, open the Caffe network architecture file (train_lenet.prototxt), and copy the entire text; paste the text into the left input box, press Shift+Enter to display the network architecture.
 Training process visualization
Training process visualization supports only single-machine jobs: - Visualize job - Create
Click the "Training Process Visualization" button to start creating the Caffe training process visualization. - Visualize
The training process visualization window pops up, displaying training time, loss rate, and learning rate.
TensorFlow visualization
- Visualize job - Create
Click the "Visualize" button to start creating the TensorFlow visualization job. - Select startup folder
Click the visualization folder you want to open.
3.TensorBoard
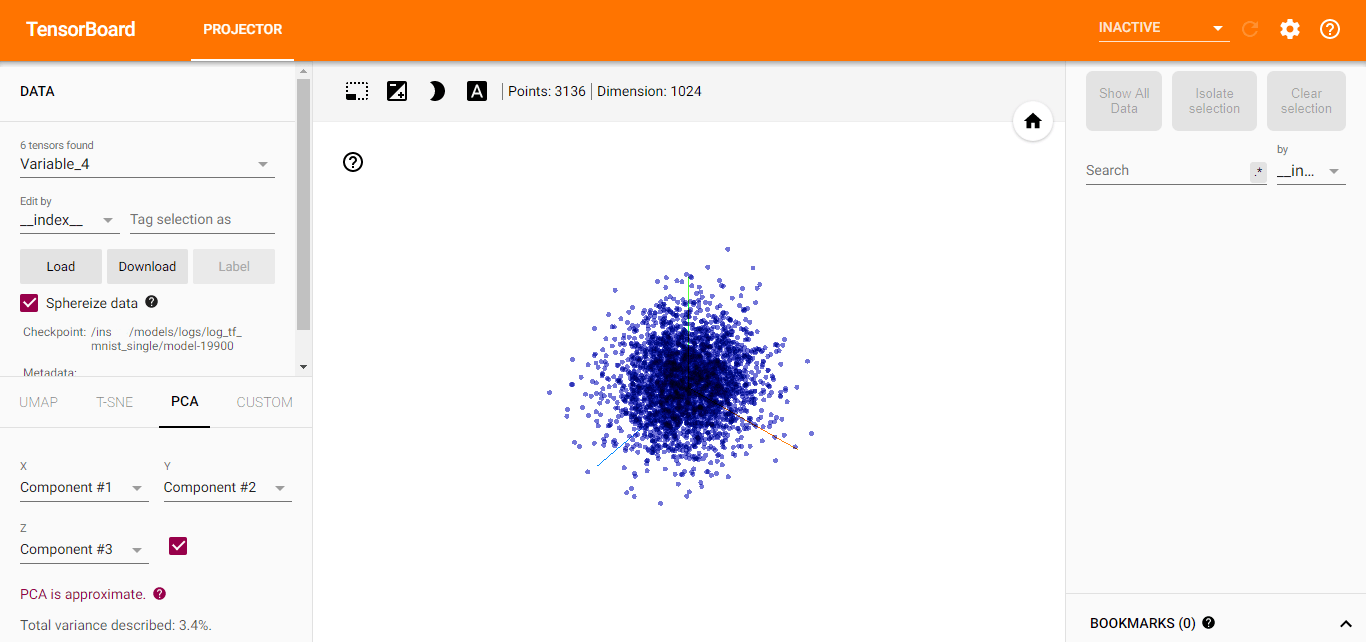
Open the TensorBoard tab to display TensorFlow visualization information.
MXNet visualization
- Visualize job - Create
Click the "Visualize" button to start creating the MXNet visualization job. - Select startup folder
Click the visualization folder you want to open.
3.TensorBoard
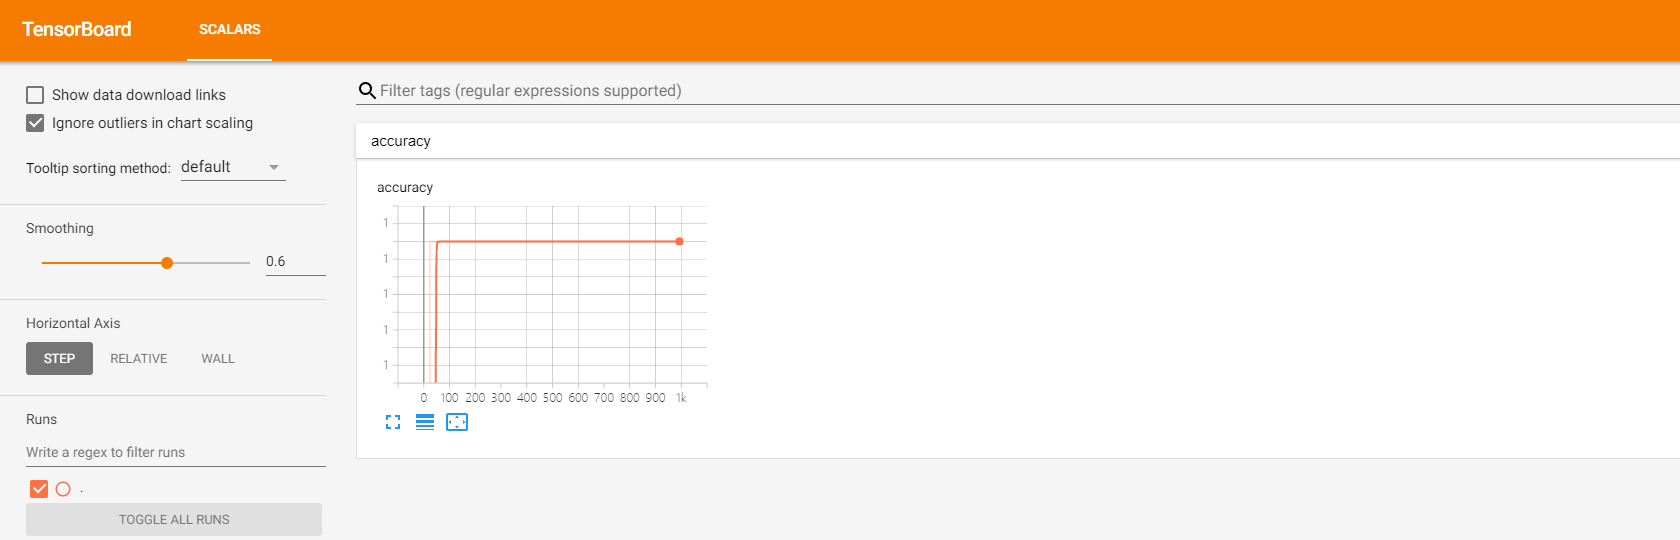
Open the TensorBoard tab to display MXNet visualization information.
PyTorch Visualization
- Visualize job - Create
Click the "Visualization" button to start creating a PyTorch visualization job. - Select startup folder
Click the visualization folder you want to open.
3.TensorBoard
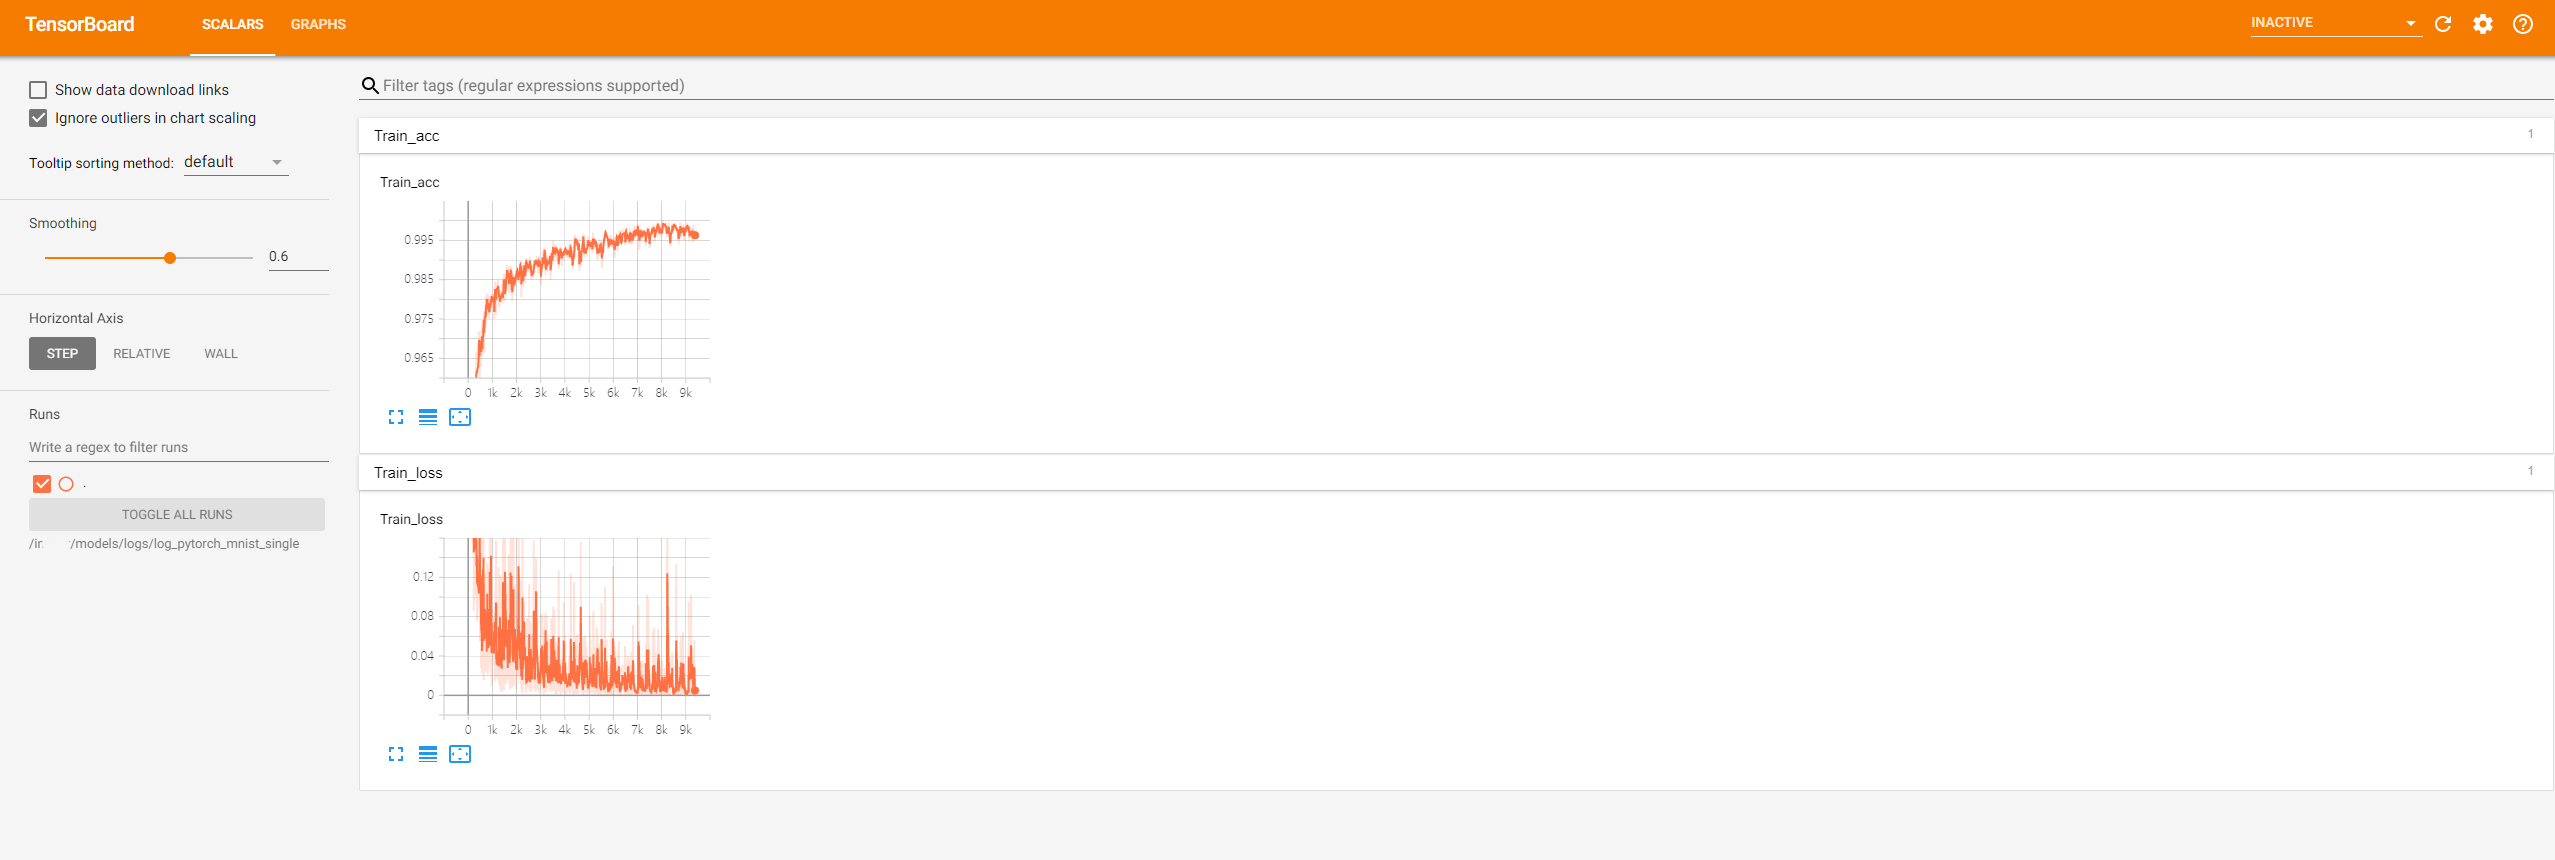
Open the TensorBoard tab to display PyTorch visualization information.
PaddlePaddle Visualization
- Visualize job - Create
Click the "Visualization" button to start creating a PaddlePaddle visualization job (using the built-in example model). - Select startup folder
Click the visualization folder you want to open.
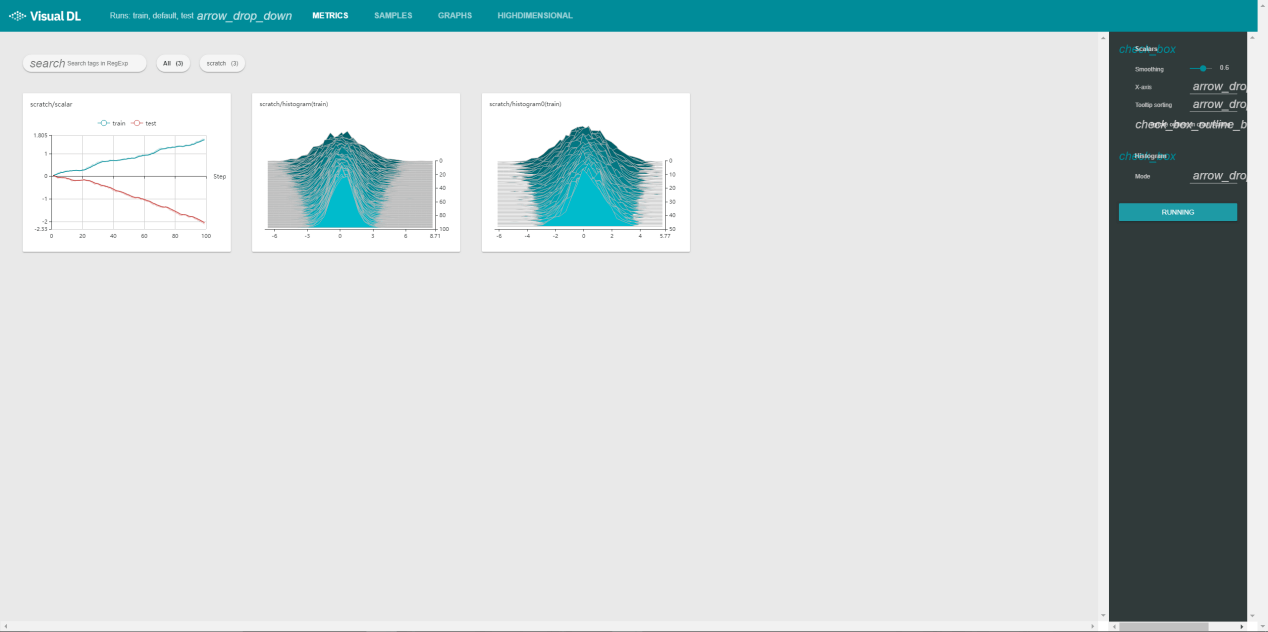
3.Visual DL
Open the VisualDL tab to display PaddlePaddle visualization information.
Urgent Job
Submit Urgent Job
Regular users submitting urgent jobs require system administrators to enable this permission.
- Click the "Create" button to create a job.
- Enable the "Urgent Job" switch.
- Click the "OK" button to submit an urgent job.
Urgent Job Reordering
- The system administrator enters the "Job Management" module and clicks "Requeue" to adjust the order of urgent jobs.
- Select the urgent job to adjust, and perform "Move to Top", "Move to Bottom", "Move Up", or "Move Down" operations.