Image Management
"Image Management" is available under the training and inference business scope.
Image Query
Click "Image Management" to display all framework images by default. Users can view public, group, and personal images.
Users can view information such as available and used images.
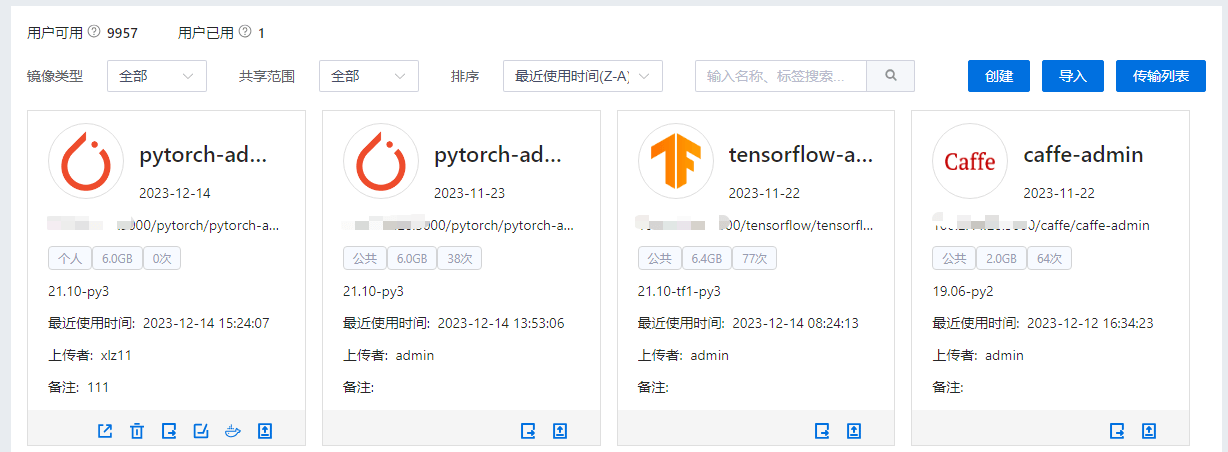
Image list information includes: framework name, image name, sharing attribute, image size, usage count, last used time, image tag, uploader, creation time, remarks, etc. Functions include: share, delete, export image, modify image, and modify logo.
Query by image framework type: select a framework (Caffe, TensorFlow, MXNet, PyTorch, PaddlePaddle, Other) to display the corresponding image list.
Query by sharing attribute: select an attribute (Personal, Group, Public) to display the corresponding image list. Selecting Personal shows personal images; Group shows group images; Public shows public images.
Sort by last used time or image size; default is descending order.
Fuzzy search is supported: enter uploader, image name, or image tag information in the fuzzy search box to display matching image information.
The image list supports pagination.
Image Sharing
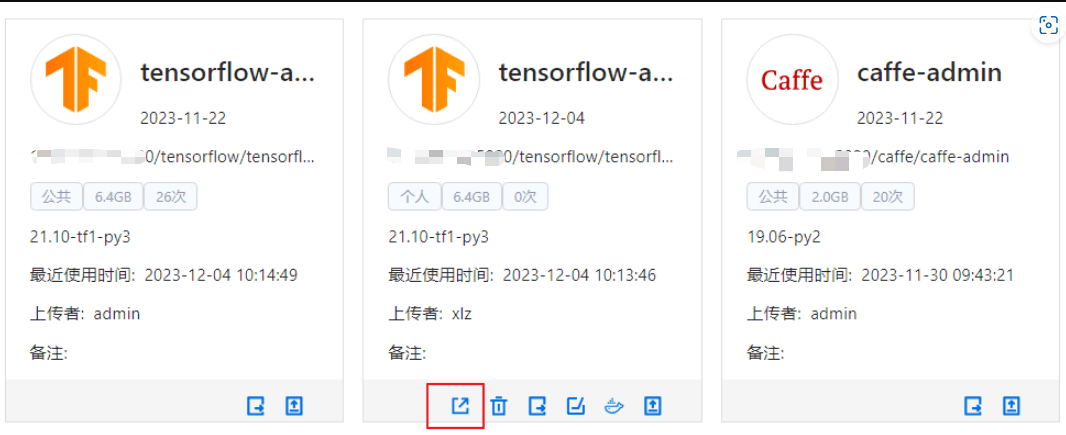
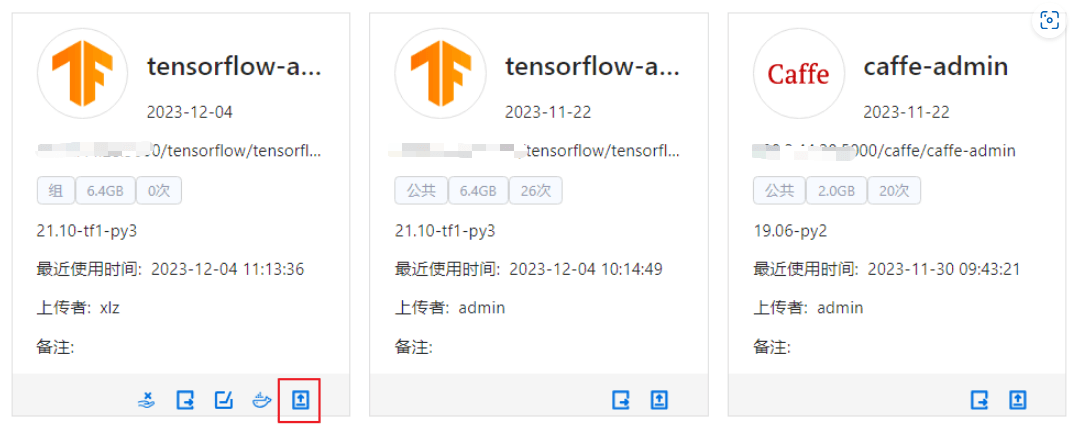
The Share button is available on personal and group container images. Users can click this button to modify the sharing attributes of the image.
You can modify the attributes of personal images, changing them from personal to group or public.
Unshare
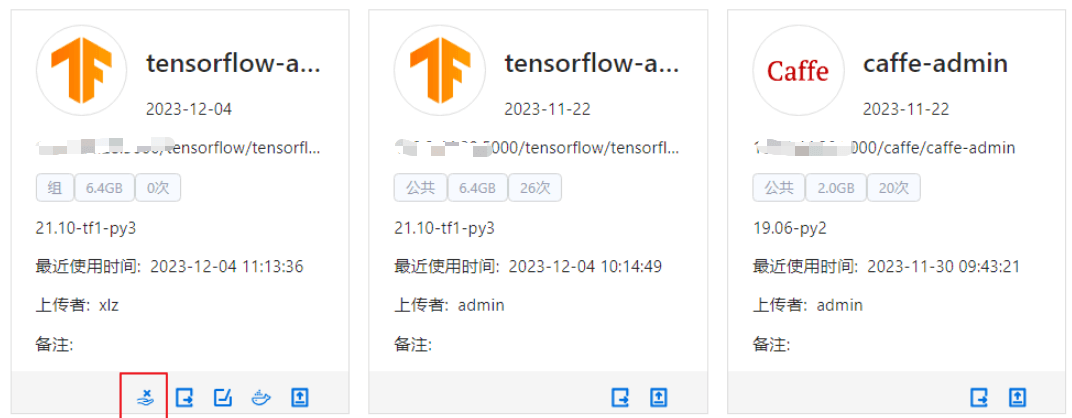
Images you have shared are visible under the Group and Public categories. Click the Unshare button for an image to revoke its sharing status, reverting it to a personal image.
Delete Image
You can delete personal images, but cannot delete group or public images.
Click the Delete Image button to display a confirmation dialog. Click Confirm to delete the image.
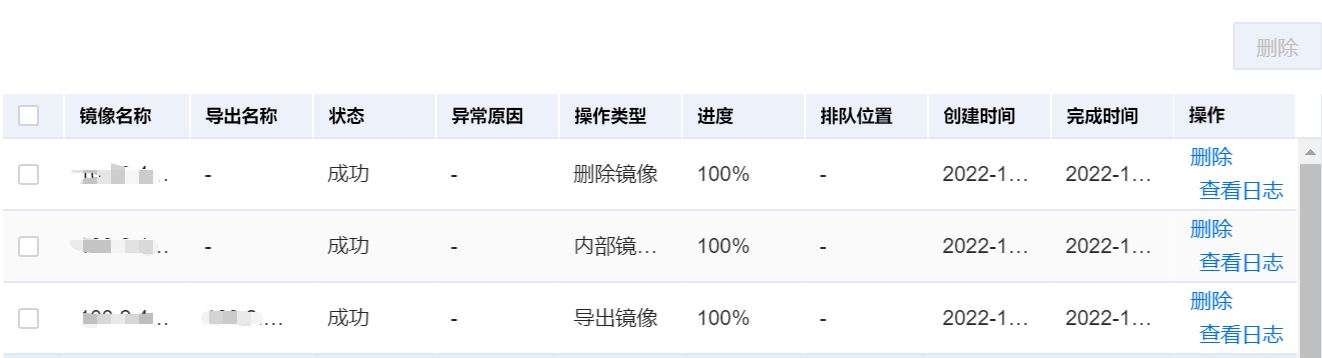
The Transfer List displays image transfer progress information. Progress statuses include Queued, Running, Success, and Failed. The progress list allows viewing deletion logs. It supports deleting single or batch records with Success or Failed statuses.
Export Image
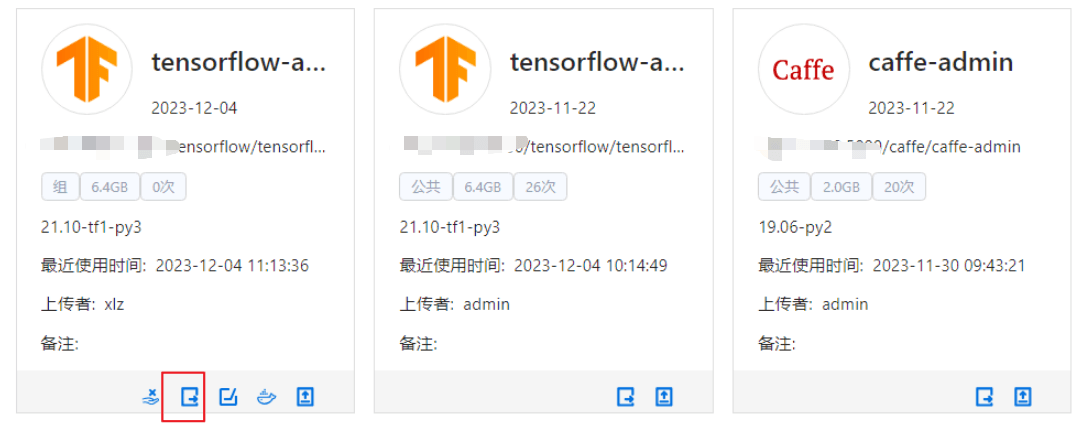
Click the Export Image icon to display the export interface. A default tar package name is provided, which users can customize.
The Transfer List displays image export progress information. Progress statuses include Queued, Running, Success, and Failed. Click View Logs to check export image log records. If an exception occurs, the progress list displays the cause. It supports deleting single or batch progress records with Success or Failed statuses.

After successful export, you can view the exported image tar package in File Management > User Directory.
Create Image
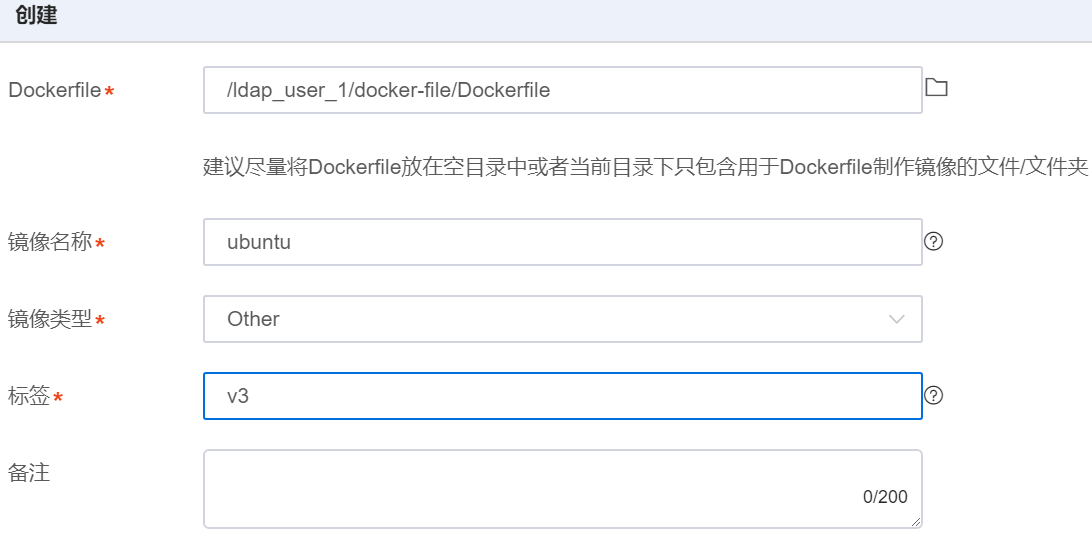
To create an image using a Dockerfile, click Image Management > Create to open the creation interface. Click the folder icon to open the Dockerfile selection interface. Select a Dockerfile file or search for it in the search bar, then click OK.
After selecting the Dockerfile, return to the creation interface, which displays the relative path of the Dockerfile. Enter the image name, image tag, and remarks, then click OK.
Note: Image names and tags do not support uppercase letters and must comply with official Docker specifications.
Click Transfer List to display image creation progress information. Progress statuses include Queued, Running, Success, and Failed. Click View Logs to check image creation log records. It supports deleting single or batch progress records with Success or Failed statuses.
The log interface displays log record information. If there are issues with the Dockerfile, the log page outputs exception information, the progress bar displays the cause, and the backend rolls back and deletes related operation records, setting the progress status to Failed.

Import Internal Image
Click Image Management > Import to display the import interface.
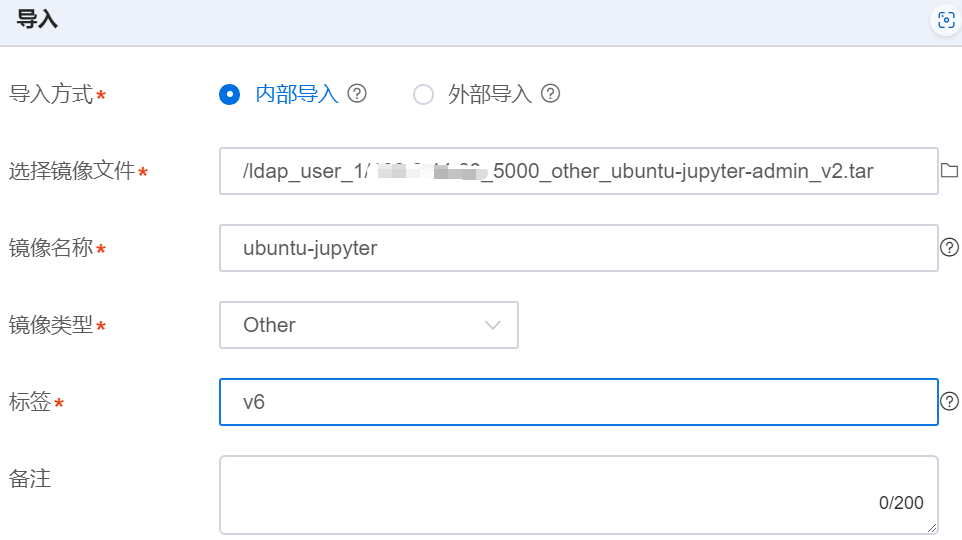
Internal import is selected by default. Click the folder icon to open the image file selection interface, which defaults to the NFS mount directory. You can select image tar or tar.gz packages. Internal import only supports image packages saved via docker save. Select the tar package or search for it, then click OK.
After selecting the tar package, enter the image name, image tag, or remarks, then click OK.
Note: Image names and tags do not support uppercase letters and must comply with official Docker specifications.
Click Transfer List to display internal image import progress information. Progress statuses include Queued, Running, Success, and Failed. Click View Logs to check internal image import log records. If an exception occurs, the progress list displays the cause. It supports deleting single or batch progress records with Success or Failed statuses.

Import External Image
Click External Import. In the Download Command field, you can manually enter a docker pull command or copy it from a configured external Harbor repository, Docker Hub, or the NGC official website. If a configured external Harbor repository is selected, you must enter the image name.
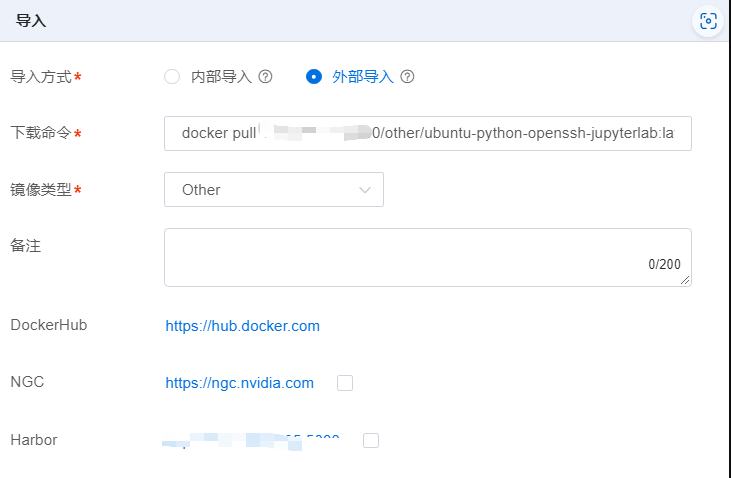
The Transfer List displays external image import progress information. Progress statuses include Queued, Running, Success, and Failed. Click View Logs to check external image import log records. If import fails, the progress bar displays the cause. It supports deleting single or batch progress records with Success or Failed statuses.
Note: External import requires an internet connection. It is recommended to use domestic package mirrors for pulling images. Using foreign mirrors may result in restrictions, slow pull speeds, or even pull failures.

Modify Image
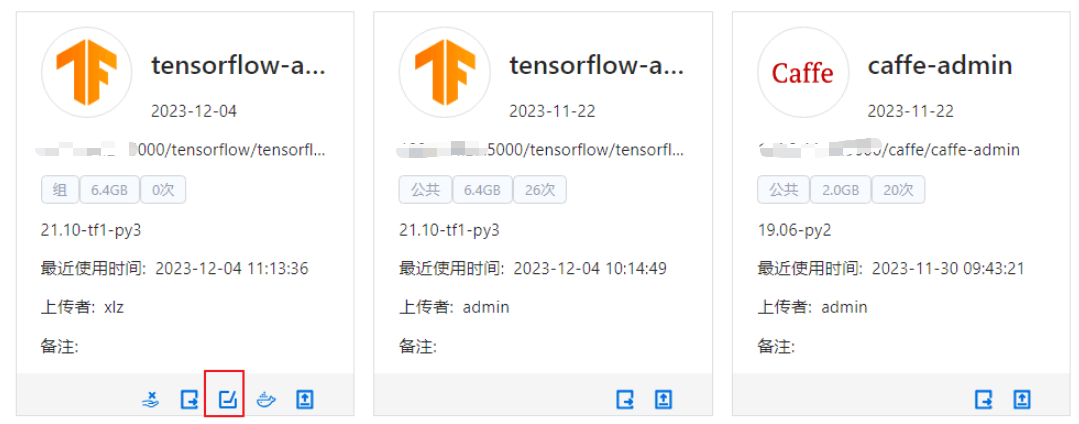
Click the Modify Image icon to modify image remarks.
Modify Image Logo
Click the Modify Logo icon to customize the logo for a single image. Users can only modify the logos of their own images.

After modification, you can view the changes in the Image Management interface.
Publish Image
Image Publish is available under the Training and Inference business scope.
Click Image Management > Publish Image. Enter the application name (format: lowercase letters, numbers, and hyphens only; must start with a lowercase letter and cannot end with a hyphen) to publish the image to the App Store. After publishing, you can view it in the App Store interface.