Introduction to JupyterLab and common operations
JupyterLab is an interactive development environment and the next-generation product of Jupyter Notebook. It allows you to write Notebooks, operate terminals, edit Markdown text, open interactive modes, and view CSV files and images. It can be said that JupyterLab is the more mainstream development environment for developers in the next phase. JupyterLab supports more flexible and powerful project operations while retaining the same components as Jupyter Notebooks.
1. Open JupyterLab
When the created development environment is running, click the specific development environment name. After entering the JupyterLab page, the Launcher page opens automatically, as shown in the figure below. You can use all features supported by the open-source version. For detailed operation instructions, refer to the JupyterLab official documentation.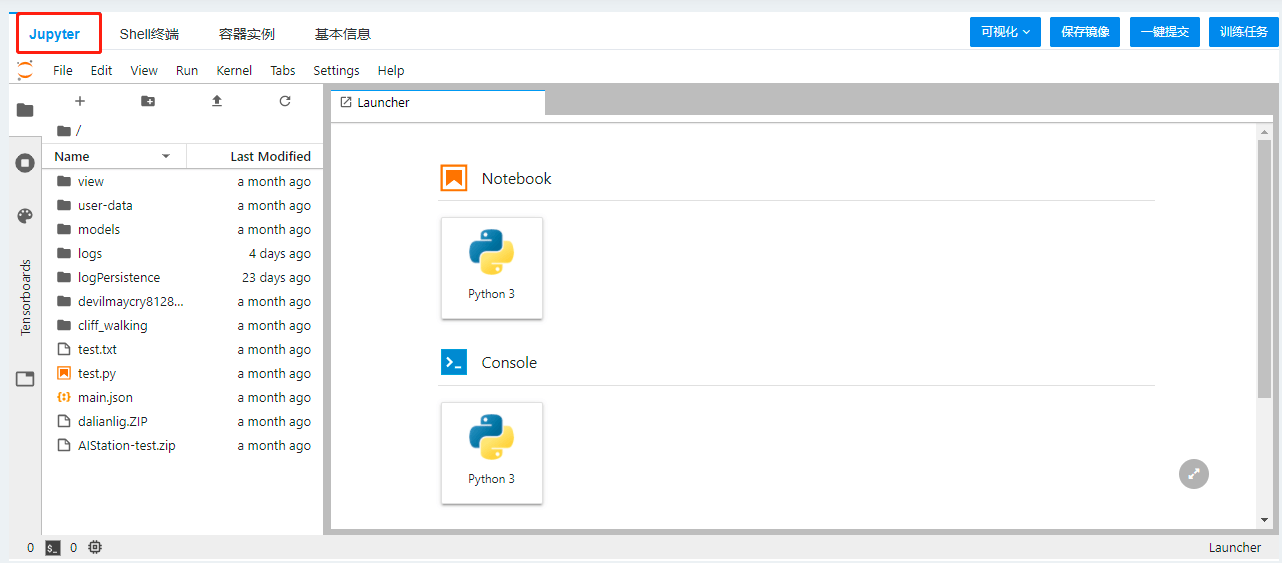
2. Default file directory
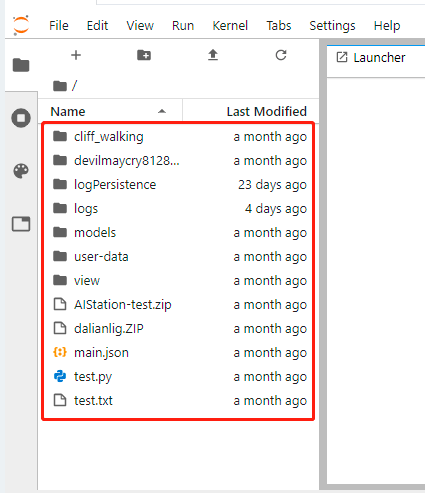
The file directory on the left displays files in the current user directory by default, as shown in the figure below:
3. Using the pre-installed Jupyter-Example
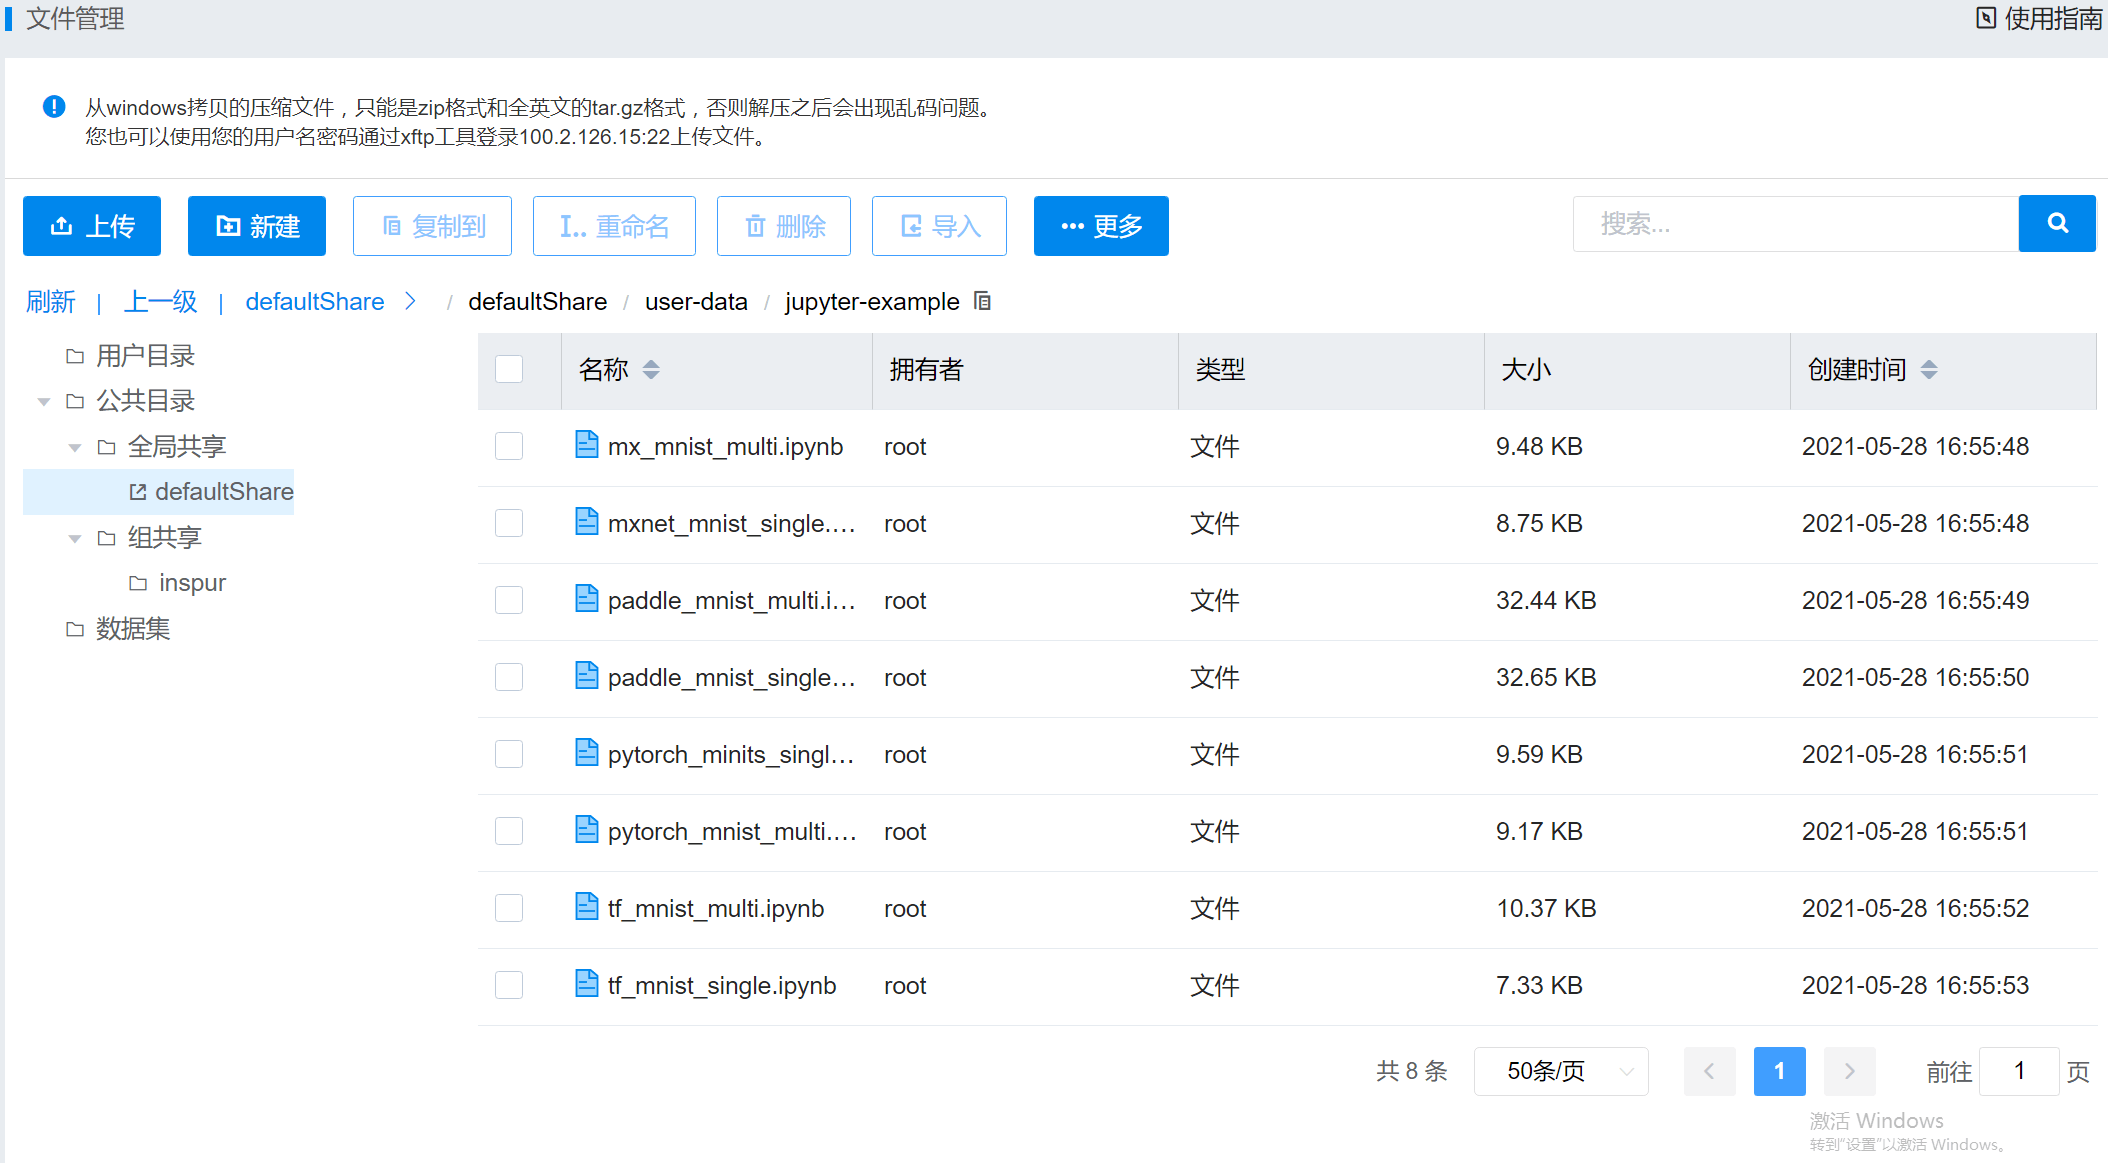
The initial ipynb files for the platform's pre-configured framework examples are stored in the /defaultShare/user-data/jupyter-example directory. You can copy them to your user directory using the file management copy function.
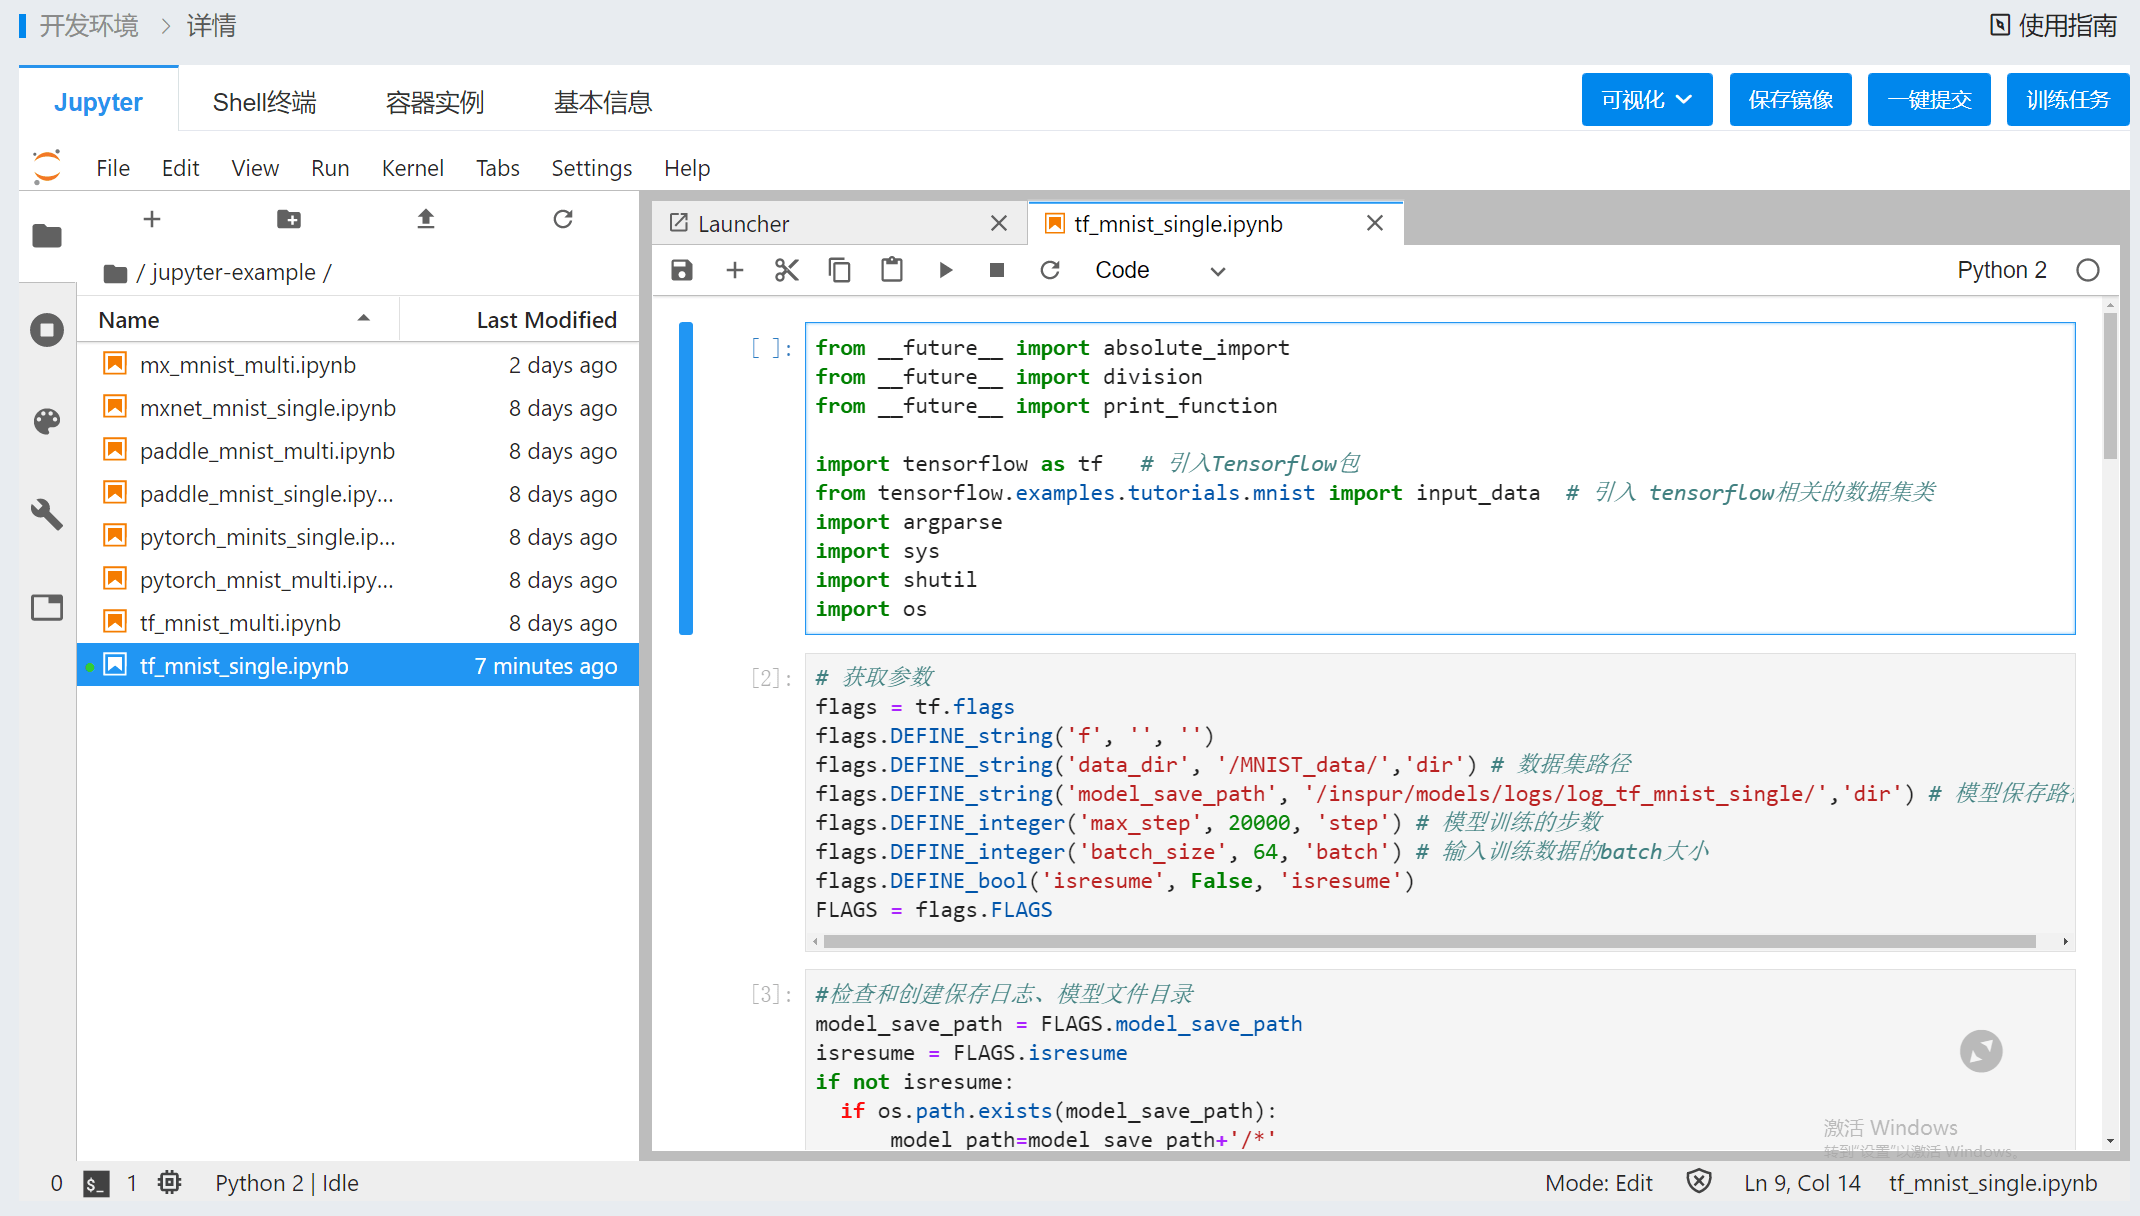
 Once the development environment for the corresponding framework is created, navigate to the Jupyter page and open the relevant example. When the status to the right of the gear icon in the bottom-left corner is 'Idle', you can sequentially run the code cells to debug the script.
4. Restart Kernel
When using JupyterLab, the gear icon in the bottom-left corner indicates the Kernel environment and status. 'Idle' indicates normal operation; if the status is different, click the gear icon to modify it.