Connecting VSCode to AIStation Development Environment
To remotely edit and debug files in the development environment in VSCode, you can use two VSCode plugins: Remote-SSH or Remote VSCode. The VSCode version used in the following example: 1.53.2 Windows system: win10 (with ssh installed by default) The development environment ssh service is running normally.
Remote-SSH Plugin
1. Download and install the plugin
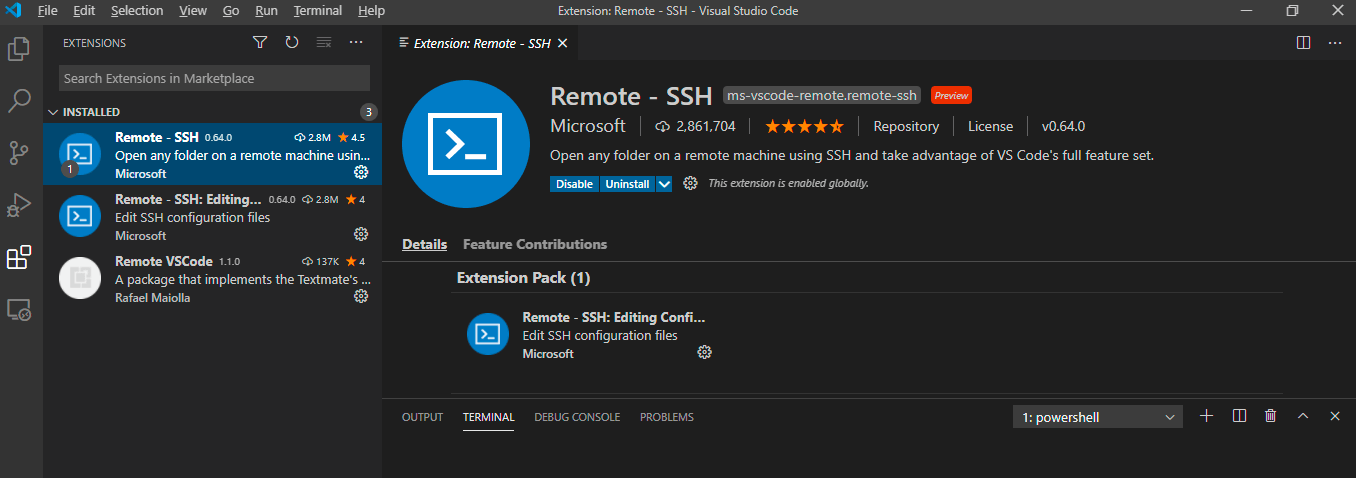
2. Click Remote Explorer to add a remote environment
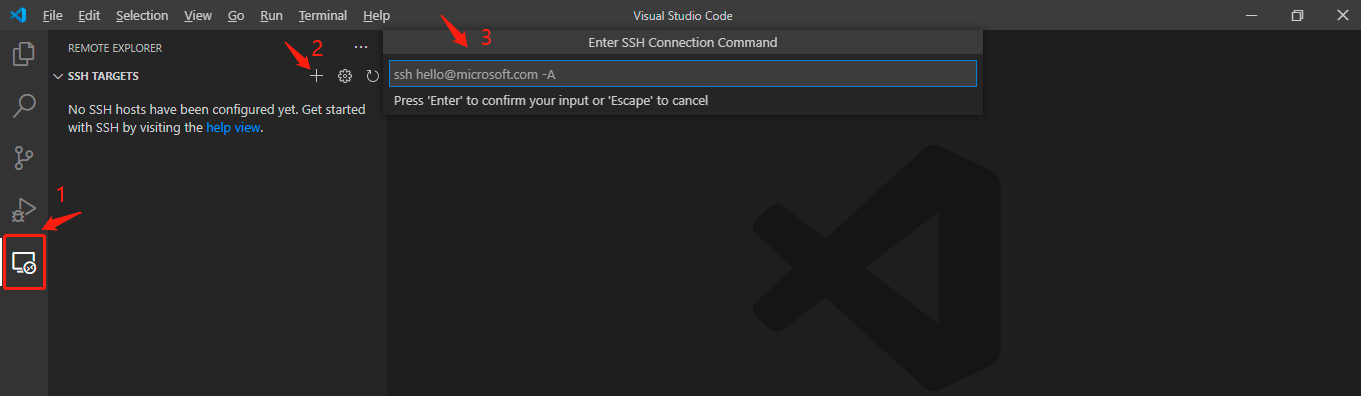 Add the remote environment by copying the development environment ssh connection command to the position marked "3" in the figure above;
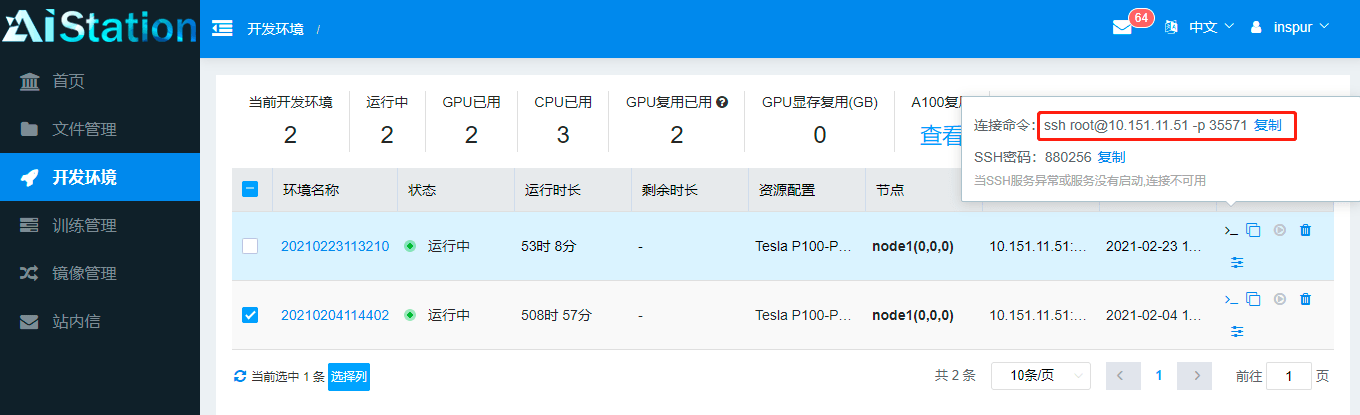 Confirm that the ssh command is entered correctly. After pressing "Enter", as shown below, generally select the configuration file under the personal user directory:
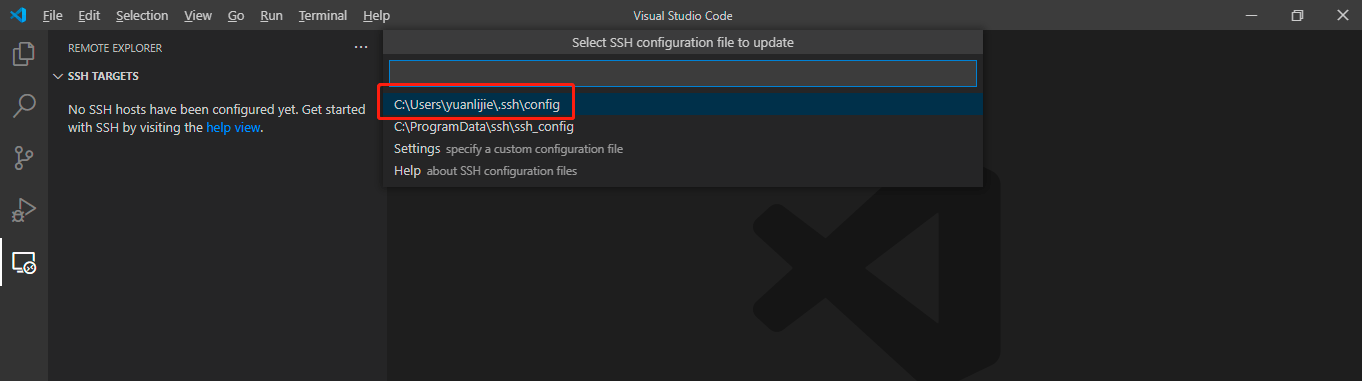
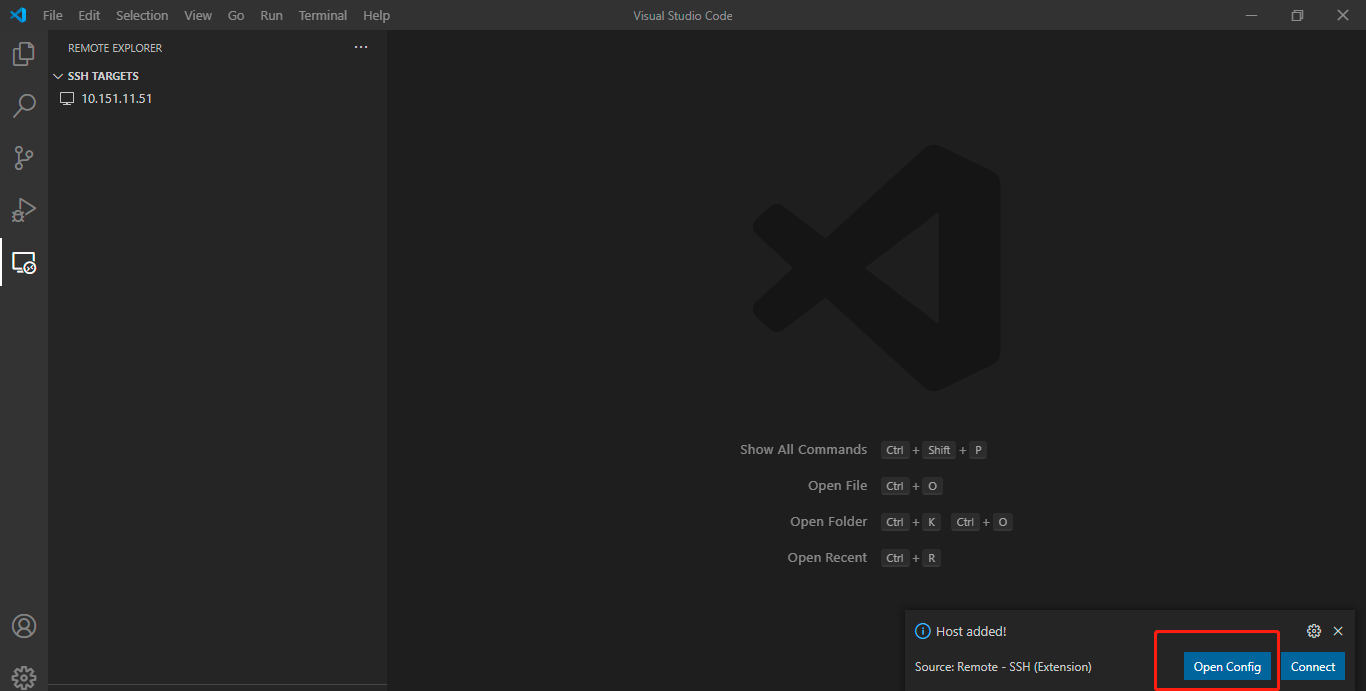 It is recommended to open the configuration file first, modify the environment name, save the configuration file, and refresh.
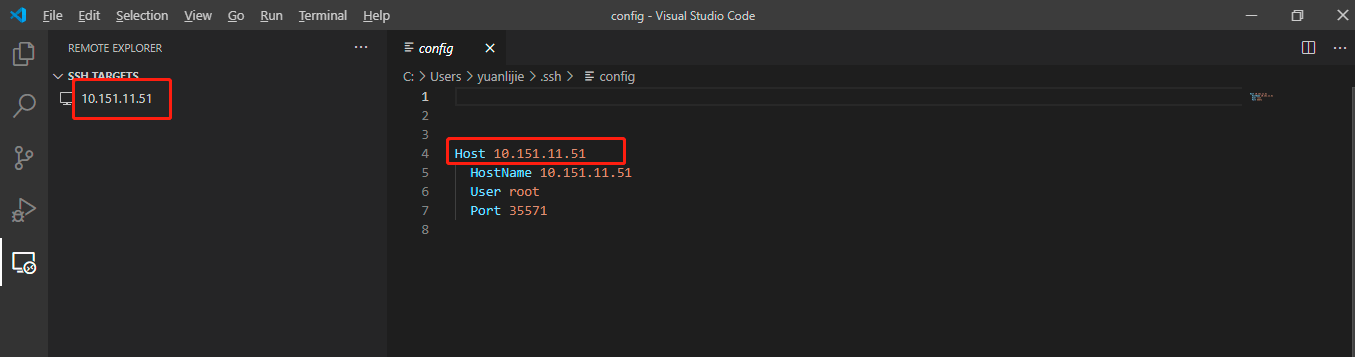
3. Connect to the remote environment
Click the remote environment name to connect to the remote environment:
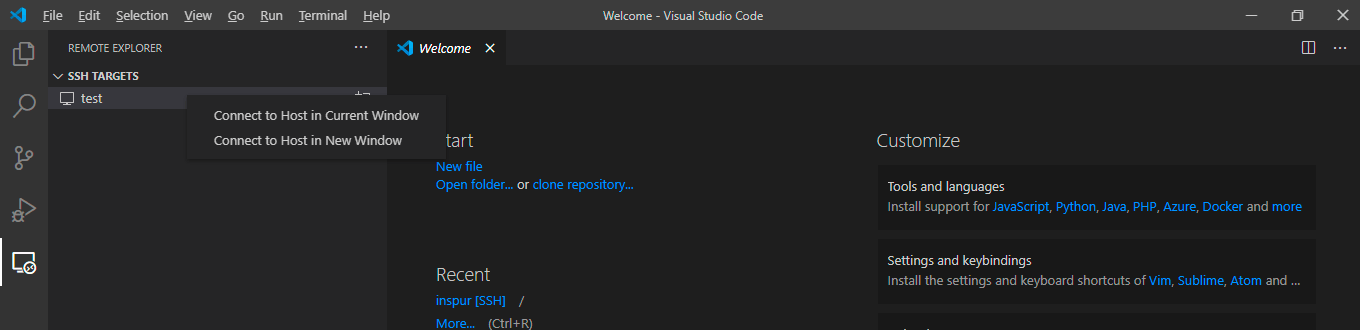 Select the system type of the remote environment:
 Enter the password of the remote environment and wait for the remote environment to automatically install the corresponding dependencies:
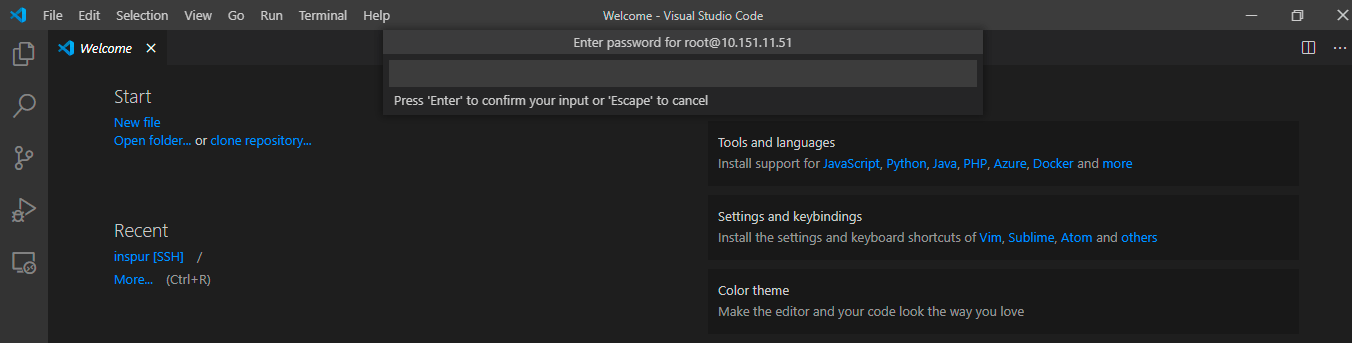 After the dependencies are installed, the remote environment connection is successful:
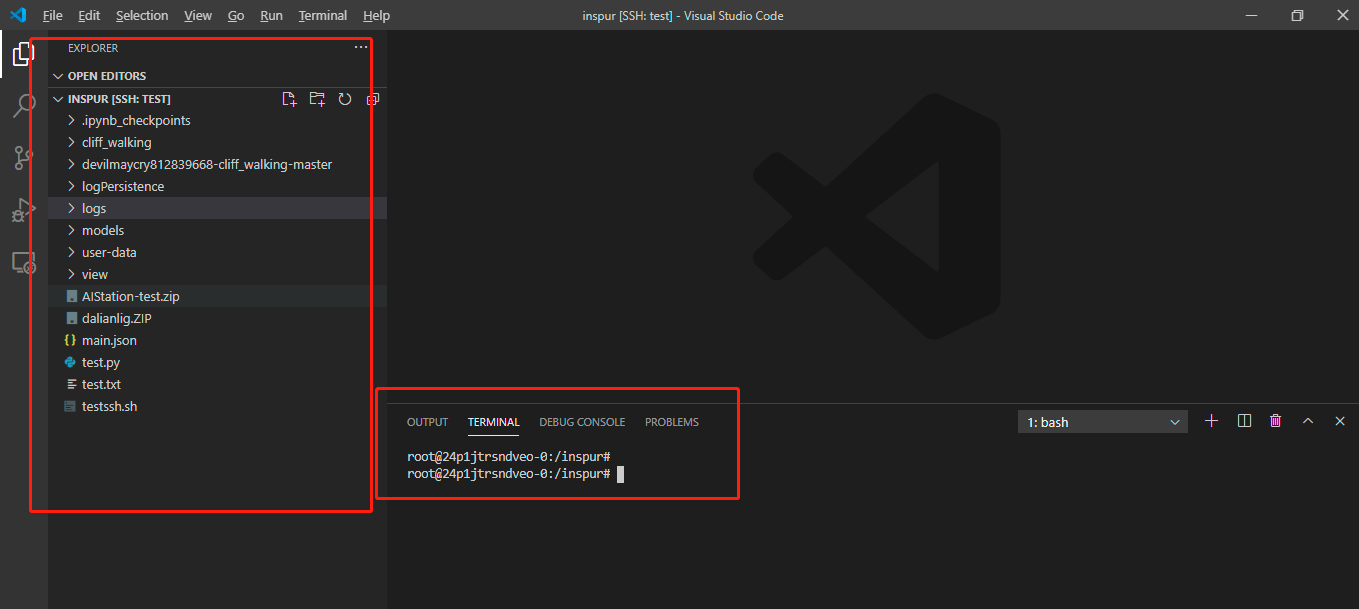
4. Remote code debugging
The following uses running a Python file as an example. For other languages, please refer to relevant documentation. Both the local machine and the development environment need to install the corresponding plugins and complete the corresponding configuration:
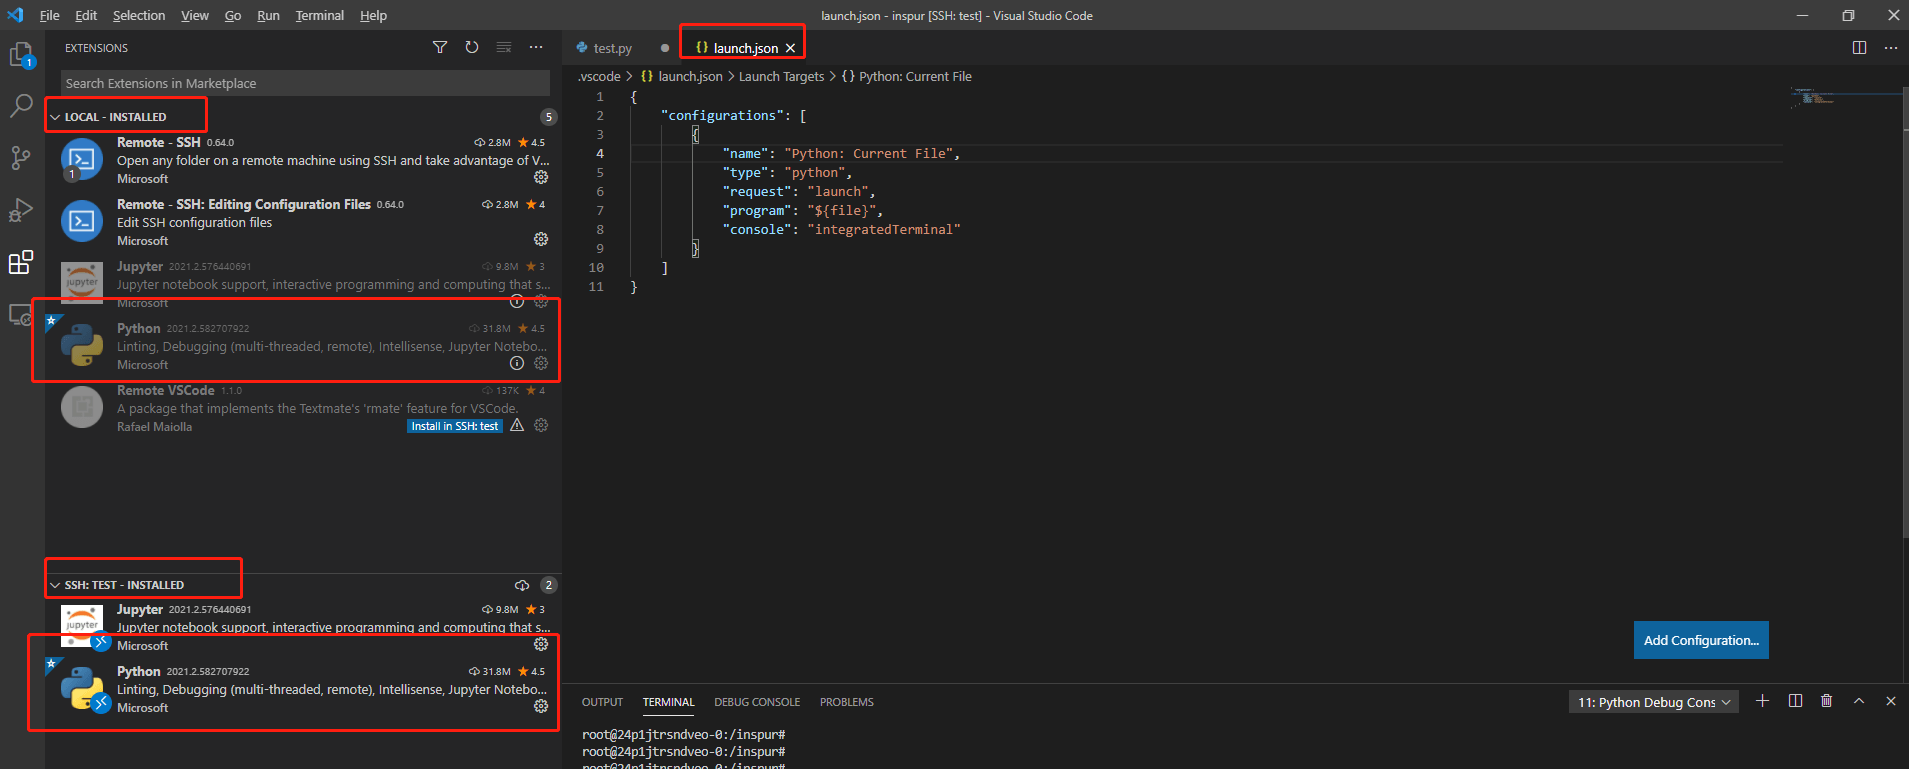
5. Password-free configuration
To avoid the hassle of entering the password each time, you can place the public key from the .ssh file in the local computer's personal user directory into the remote environment. If the local server's .ssh directory does not have this file, you can generate it using the ssh-keygen command.
 Copy id_rsa.pub to the development environment and execute cat id_rsa.pub >> /root/.ssh/authorized_keys in the development environment.
Rmate Plugin
1. Download and install the plugin
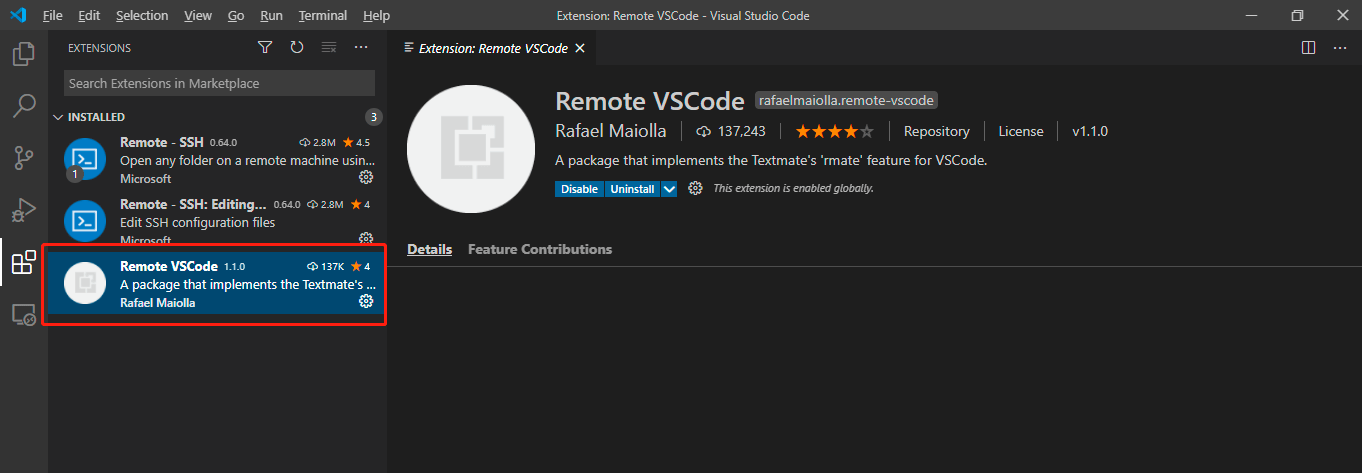 Execute the following command in the development environment to download and install the plugin: wget -O /usr/local/bin/rmate https://raw.github.com/aurora/rmate/master/rmate chmod a+x /usr/local/bin/rmate
2. Connect to the remote environment
Open a new terminal and enter the following command: ssh -R 52698:localhost:52698 usrname@x.x.x.x –p xxxx, where -p is followed by the container port number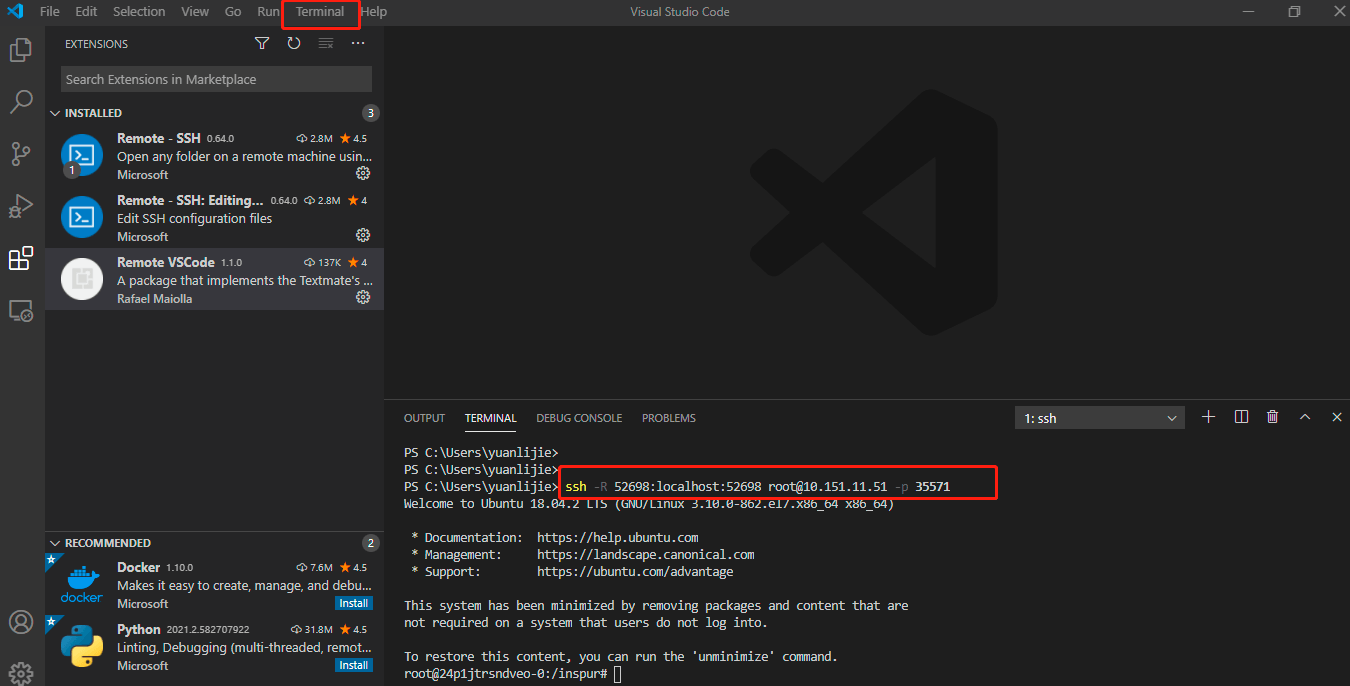
3. Open the file
Execute rmate xxx.py in the terminal to edit and modify code in the remote environment locally.